Bike Build Series: Handlebar Tape

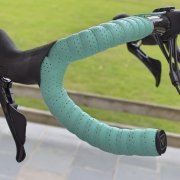
Getting the right bar tape is important, think about it; it’s one of those areas where your body is in direct contact and you want your hands to be comfortable. For this reason we contacted our friends at Max Bikes PR and got a hold of some VEL Snake Premium Bar Tape , which is a fantastic upgrade and can breath new life and superb comfort into any road handlebar. It’s a good quality bar tape for our new build too, especially in the Celeste colour to add a great finishing touch. The 3mm thick construction neutralises road vibrations, while the finish is extra grippy to ensure good purchase in any weather, and its rubberised finishing tape and lightweight alloy bar-end plugs provide smart finishing touches.
Grip is important when choosing the right bar tape. It needs to be both sort of the hands whilst giving you complete control of the bike even in the wet. Don’t ever buy cheap tape as a cost saving. Having good control of the bike is a far more important consideration and you also want to remove road vibrations. Our bars are from Italian company 3T, choosing their high end Superergo bars, which are used by tour level pro teams. The bars are designed so that the gradual change in curvature makes the grips comfortable for hands of all sizes. Also, the tighter top bend ensures the newest Shimano, SRAM and Campagnolo shift/brake levers align perfectly for a very comfortable hand position on the hoods.


More and more people ride extended periods of time with their hands in the corners, yet in ergonomic design this area never received any attention. He clever people at 3T have designed this into their Superergo bars, where the new corner design improves comfort and creates a more secure grip. The ergonomic centre section is super comfortable on the hands too, and I especially love it, being a rider who predominantly rests my hands in this area. These bars are designed to maximise aerodynamics and even have internal cable routing, so well well wrapped your comfort is maximised and marginal gains dealt with too. Their super light and super strong and look the business too, so let’s get wrapping them.
We’ve used bars with internal routing, however, you may need to decide how you want to route your own cables and then use electrical tape to hold the cabling in place whilst you begin taping. There are different opinions on how to tape but we tend to go with starting at the bar end and taping from there, wrapping from inside to out as you go towards the lever and ultimately on towards the centre and your finishing spot, which you should mark with tape too.
Starting your wrap at the bar end, wrap from the inside outward, which basically means on the right side, you’ll wrap clockwise; on the left, counter-clockwise.

Position the end of the tape so that it extends about halfway over the edge of the bar. Keep the tape tense while wrapping a couple turns. At this point it’s a good idea to instal your bar plug, as putting in the plug early allows you to go back to even things out at the bar end if necessary. Start wrapping while keeping the tape taut without overstretching it. Remember that bar tapes are different and some types of handlebar tape will need more tension than others. Also, take your time and ensure that the wrapping is even as you move along the bar, placing it halfway across the previous sections as you continue along.
Going Around The Levers
Navigating the brake levers can be daunting, but taking your time is the key. The best method is to wrap using the figure of eight method.
When you get the tape half a length away from the lever body, position the extra pre-cut piece from the pack (if no extra piece then cut a short one) so that it’s covering the clamp and then wrap up and across it, coming over the top of the lever body and crossing back over and down again. Once this is successfully navigated, bring the tape up past the lever and back onto the bar again, keeping an even tension. Now you can continue wrapping, keeping the gaps even up until the point you marked for the tape to end. Extend your wrap to just beyond this end-point mark and trim the excess, leaving about 1–2 inches extra. Once you’ve done this, cut the tape to match the angle of the wrapping and so that the tape will align with your end-point.
Your handlebar tape pack should come with a short piece of finishing tape, often black, but if not then you can buy some easily from the local bike shop. Use this to secure the trimmed end neatly into the end of the final turn. Go around the bar a couple of times with the finishing tape to make a tidy finish to the new wrapping.

Setting Up The Bike
Time then to do your final setup and positioning on the bike. Everything’s now attached and it’s ready to ride. However, the seat post, saddle and stem needs to be checked, to ensure that you’re riding in the best position. We’re all built differently, even if we’re the height, so checking things now will be well worth it.
Seatpost
We’ve gone for the 3T carbon Zero25 seatpost, because it’s super sleek, strong and is extremely adjustable. The crux of the Zero25 is in its sleek head. Clamped on the minimalist base are a left and right cup that offer a zero offset for a relatively forward saddle position. Switch the left cup to the right side and vice versa and you have a 25mm offset, perfect for a more rearward saddle position. In either position, the seatpost looks great and works great. This means that you can experiment with a wide range of saddle positions and once you have found your optimum, you still have the world’s most beautiful seatpost on your bike (if we may say so ourselves). Now to get your saddle height sorted.
Saddle Height
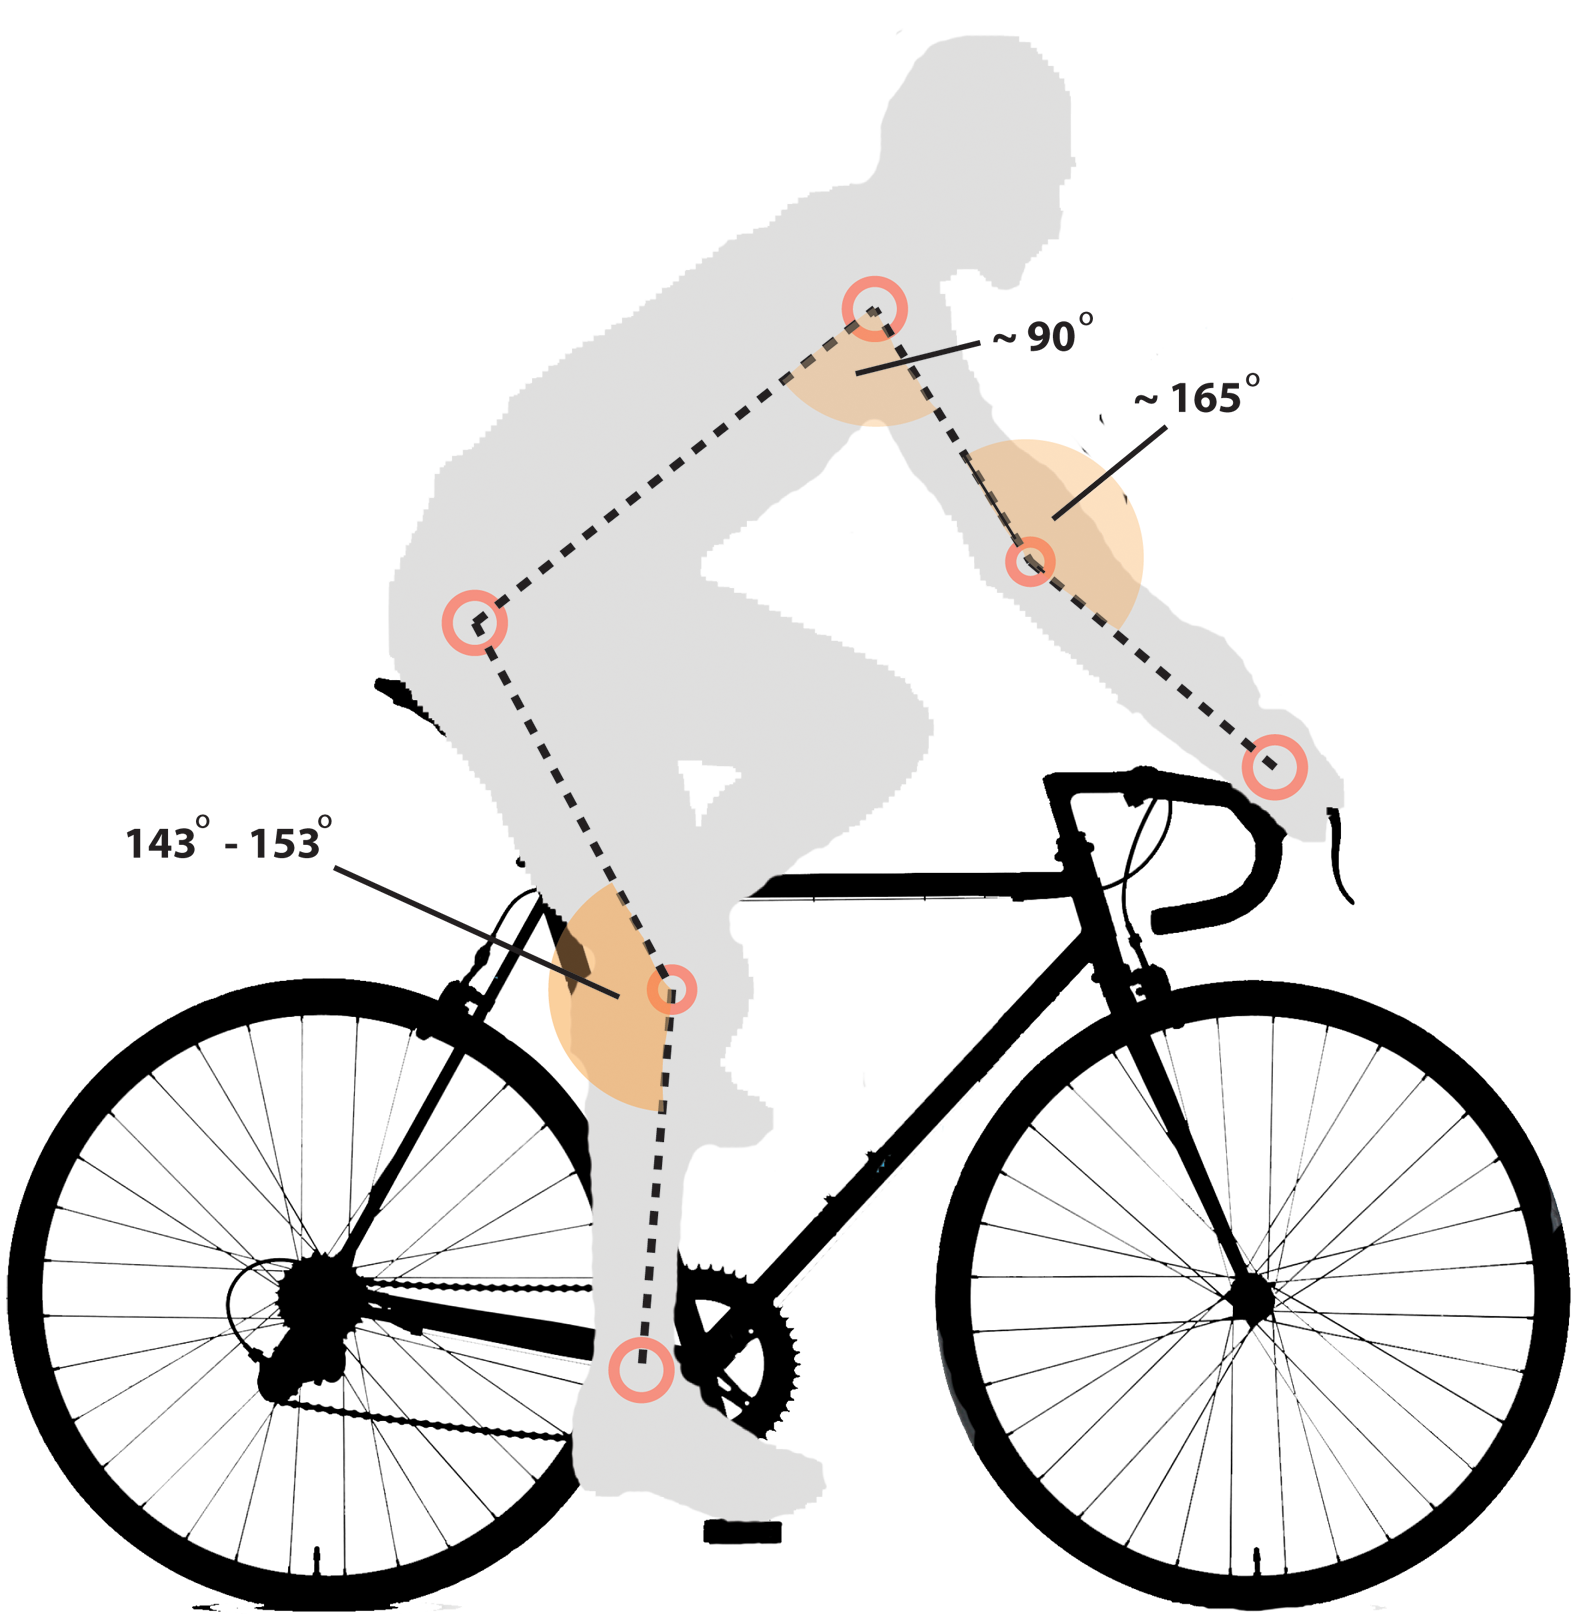
Place your foot on the pedal and pedal backwards to reach the six o’clock position. Your knee should be completely straight. Ensure that the foot is placed more towards the heel.
If your knee is still bent you need to increase the height, adjusting in small increments each time, and if your heel loses contact with the pedal then you need to lower the saddle.
Riding the bike will allow minor adjustments. Ask a friend riding behind you to check your hip movement, which should not be extreme. Once you the correct height, record the distance between the cenre of the bottom bracket and the saddle and use this in future.
The LeMond Method
Legendary rider Greg LeMond suggests the following method, which seems to have worked for him! Measure your inseam with a rule, pushing into the groin like a saddle. Then multiply the measurement by 0.883. Make gentle adjustments while riding as before.
Saddle Fore and Aft
Where your saddle sits on the seat post rail is important and offers considerable adjustments, once you’ve established your saddle height. It will also ensure that you don’t over-reach and suffer unnecessary back pain too.
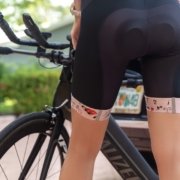
Ideally, place your knee over the pedal spindle when the crank arm is in the three o’clock position. You can measure this by dropping a plumb line from the bottom of the knee, and then adjusting the saddle until the line cuts through the pedal. Having the saddle in the wrong position can cause significant knee pain too.
Stem & Bars
Once you have the saddle height and distance sorted, you can further adjust your position by the stem length. Holding onto the hoods, your back should be straight, like the diagram below. If you’re over-reaching, fit a shorter stem, or if you’re too upright a longer stem … simple.
Lastly, when on the hoods, if your shoulders and hand position are not aligned because your hands are wider than your shoulders, then your handlebars are probably too wide and can cause shoulder pain issues. Simply make sure that you use the right length bars so that your shoulders and hands are aligned things feel comfortable.
Crank length can also have an effect, but if further adjustments are needed, then we recommend visiting your local bike shop.
So there you are; your bike is now built and ready to ride. We thought long and hard about this bike build series, believing that cyclists wanted the opportunity to put together a bike that really suited them. The articles wouldn’t have been possible without: Rich from Fulford Cycles at York; Vitamina C PR in Italy; 3T Bikes in Italy; Vittoria Tyres Italy (UK); Feedback Sports from Colorado in the USA.
Go on then, pop to your local bike shop, buy the parts and get building yourself now 😉