Bike Build 2 – Handlebars & Cables
Part 2 of our bike build series deals with fitting the handlebars, shifters and internal cabling. Rich from Fulford Cycles is our technical guide and Feedback Sports are once again supporting the bike bike series with their highly engineered tools.
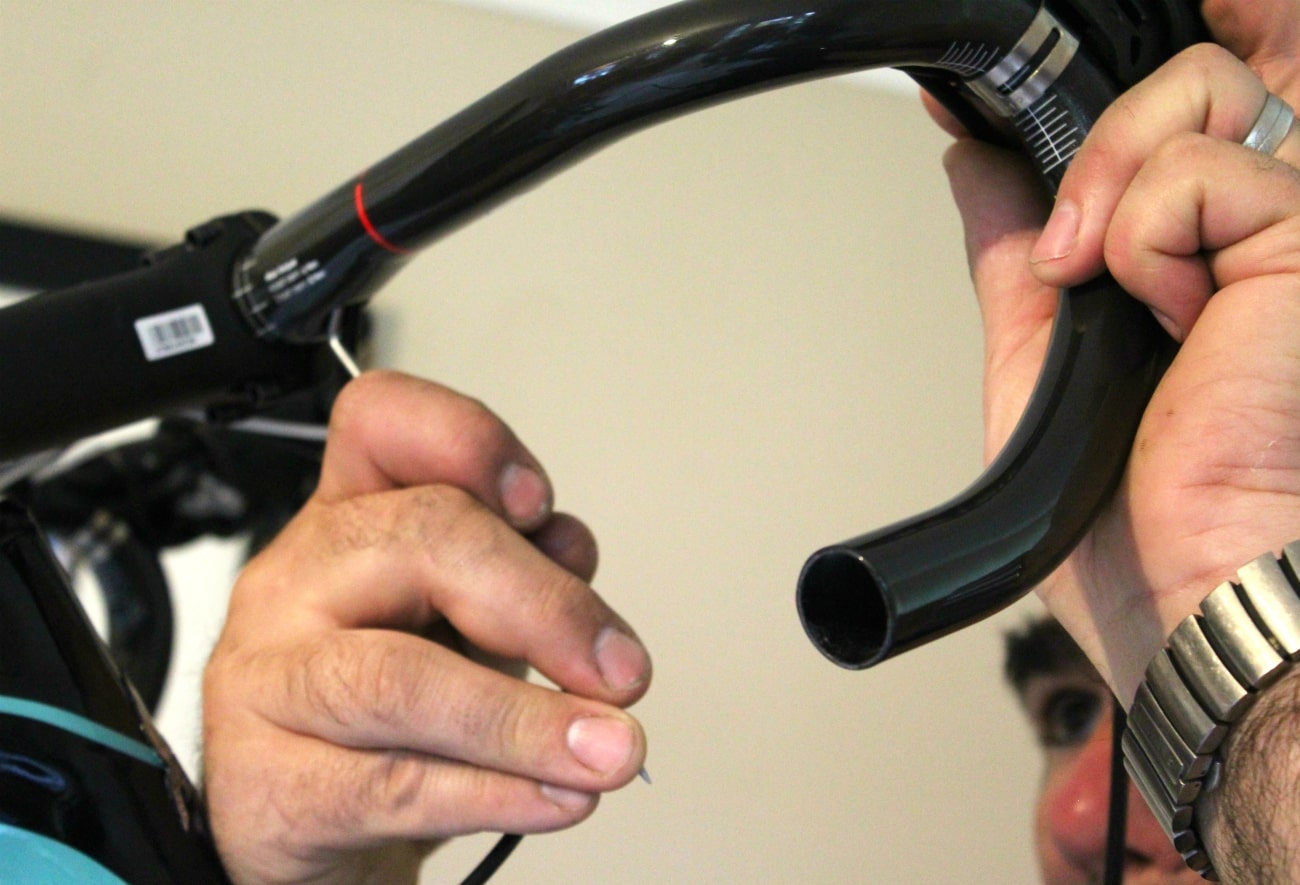
Adding the handlebars to a bike sounds quite simple, but in truth there’s quite a lot to consider. First of all, if it’s an expensive carbon set of bars, you’ll need a torque set ensure that you don’t over tighten it. Then, it needs to be set right for you ride and this also should considered when using the bar. The width of the bars is crucial and should be balanced against your shoulder width, reducing pain and stress if the shoulders are in the wrong place and causing discomfort when riding. Don’t use bars that are too wide, because it’ll just lead to discomfort and injury longer term. The bars chosen by us are the 3T Ergo Team Comfort with internal routing, adding both to the aero design and the actual comfort, removing that extra bulk feel under the tape.
They’re also a super lightweight and strong set of bars, made from the highest quality carbon, with a super smooth finish too, looking stylish and ready to perform. With cable entry by the shifters and a cable exit point under the center area, they really are the ideal bars for a real bike lover, bringing Italian design and engineering finish to your bike.
Fitting the stem, we’d chosen a 3T Team steam, keeping the continuity of style and performance with this high end Italian brand. When fitting the stem, take your time tightening the bolts in stages and in sequence, so that they’re tightened uniformly. We also have a Feedback Sports Torque kit, with all the necessary fittings for the bike and it’s an ideal tool set accompaniment for making sure that you don’t over tighten and damage these expensive parts 😉
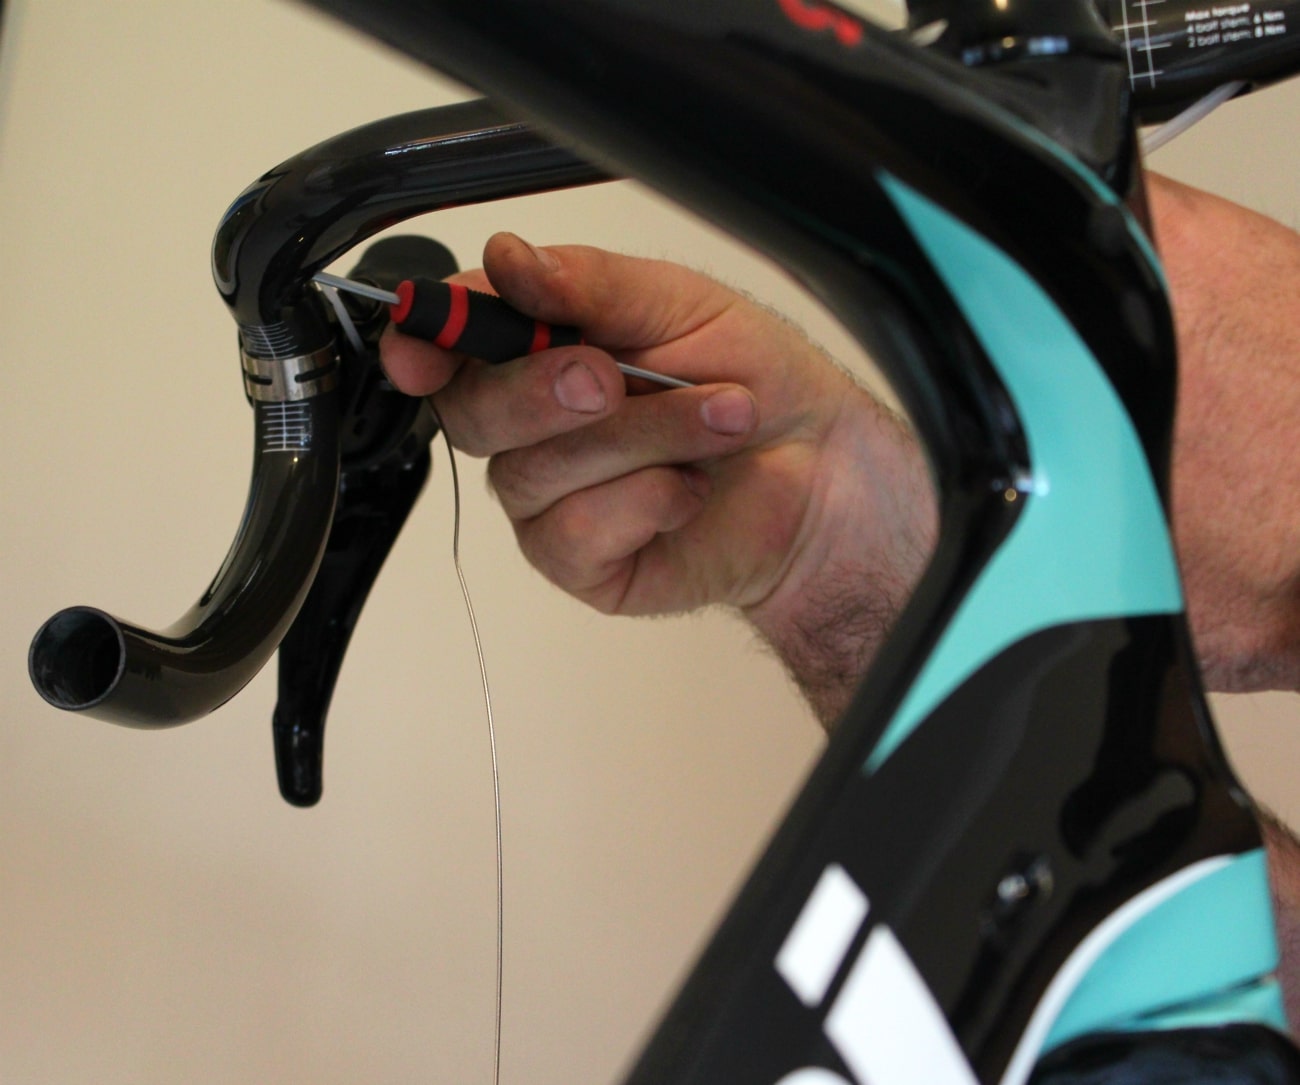
Placing the Ultegra shifters needs to be done carefully too, putting them in the optimum position for you. These 3T bars have graduated lines on them, so that once you get them in place on one side, it’s straightforward to ensure that the other shifter is in exactly the same position. Pulling back the rubber on the shifters is easy and it allows access to the necessary parts for both screws and later cable fitting. Don’t worry about being gentle with the rubber, it’s tough and designed to be pulled around, and it’ll return to place and protect the internal elements of the shifters once you’re done.
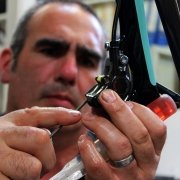
When you have the shifters lined up, it’s time for some cable threading. Thankfully 3T send these bars out with plastics cabling linked through, meaning that you can simply attach to it and pull through. Where it can get tricky, near the exit hole, just use the Feedback Sports dual sided pick and tease the cable end through. Once the cable is out from the bars, you’ll need to measure the correct length of cable outer for free movement, before threading the inner into the frame.
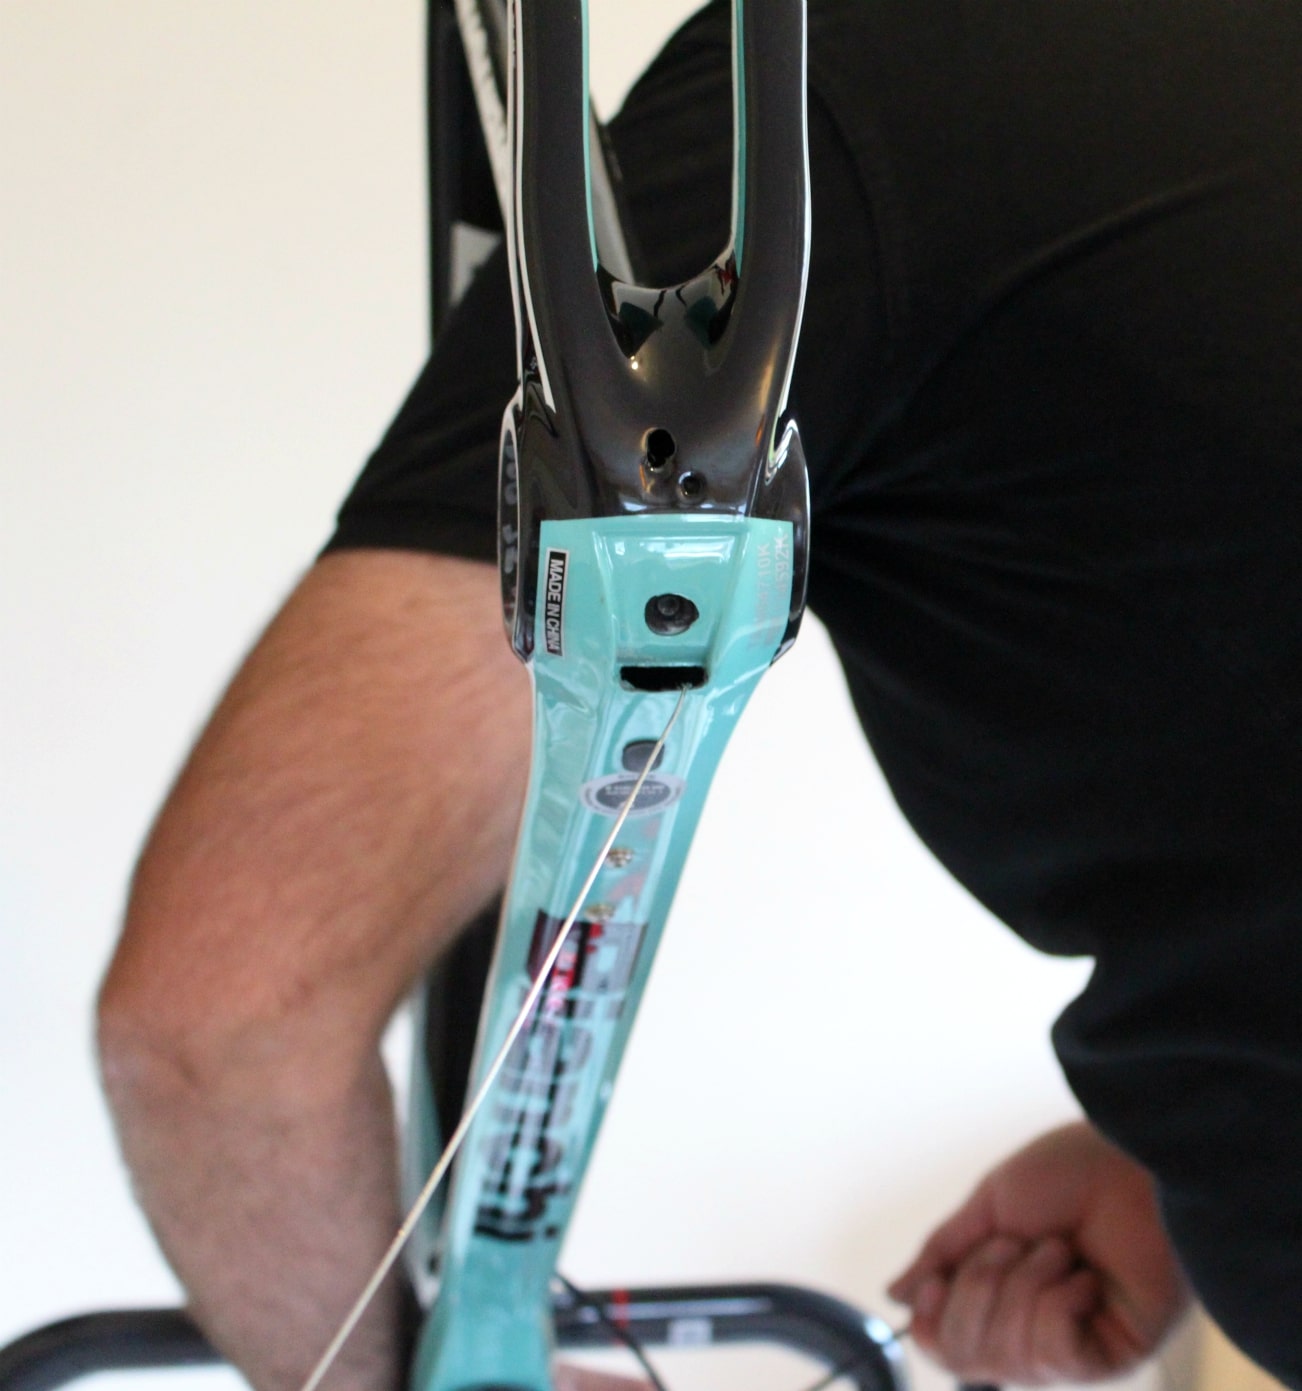
Most high end modern frames will have an internal cable run and the Bianchi is no exception, meaning you’ll just need to remove the cap beneath the bottom bracket housing, ensure that the cables exit the frame in the runs on the housing cover and refit it to the frame.
By now, we have a frame, seat post fitted, bars and shifters fitted, and we have cables running down into the frame – it’s starting to look like a bike.
One final tip if you do have cable issues with the internal routing, use a light magnet on the outside of the frame to move and drag the cables along the inside, then simply use the Feedback pick again to grab the cable on exit. Having a small but very bright torch or light can be useful here for seeing into the frame. You can buy kits to help with internal routing, but the magnet works well. When you’re replacing cables later, don’t simply pull out the old cables. Use a special cable link to attach your new cable too. Another good tip is to use an length of old inner cable sleeve, attaching it the old cable and pulling it through, then simply run the new cable through the sleeve before removing the sleeve.
Next time we’ll be fitting the cranks, front and rear mech and joining things up.
