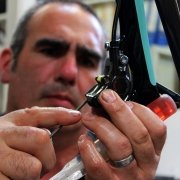
Bike Build Series: Fitting Hydraulic Brakes
In this part of our bike build series of articles, we focus on fitting hydraulic disc brakes to your road bike. More and more road bikes are using hydraulic brakes, whilst the mtb has used them for years, so it’s a useful skill to have.
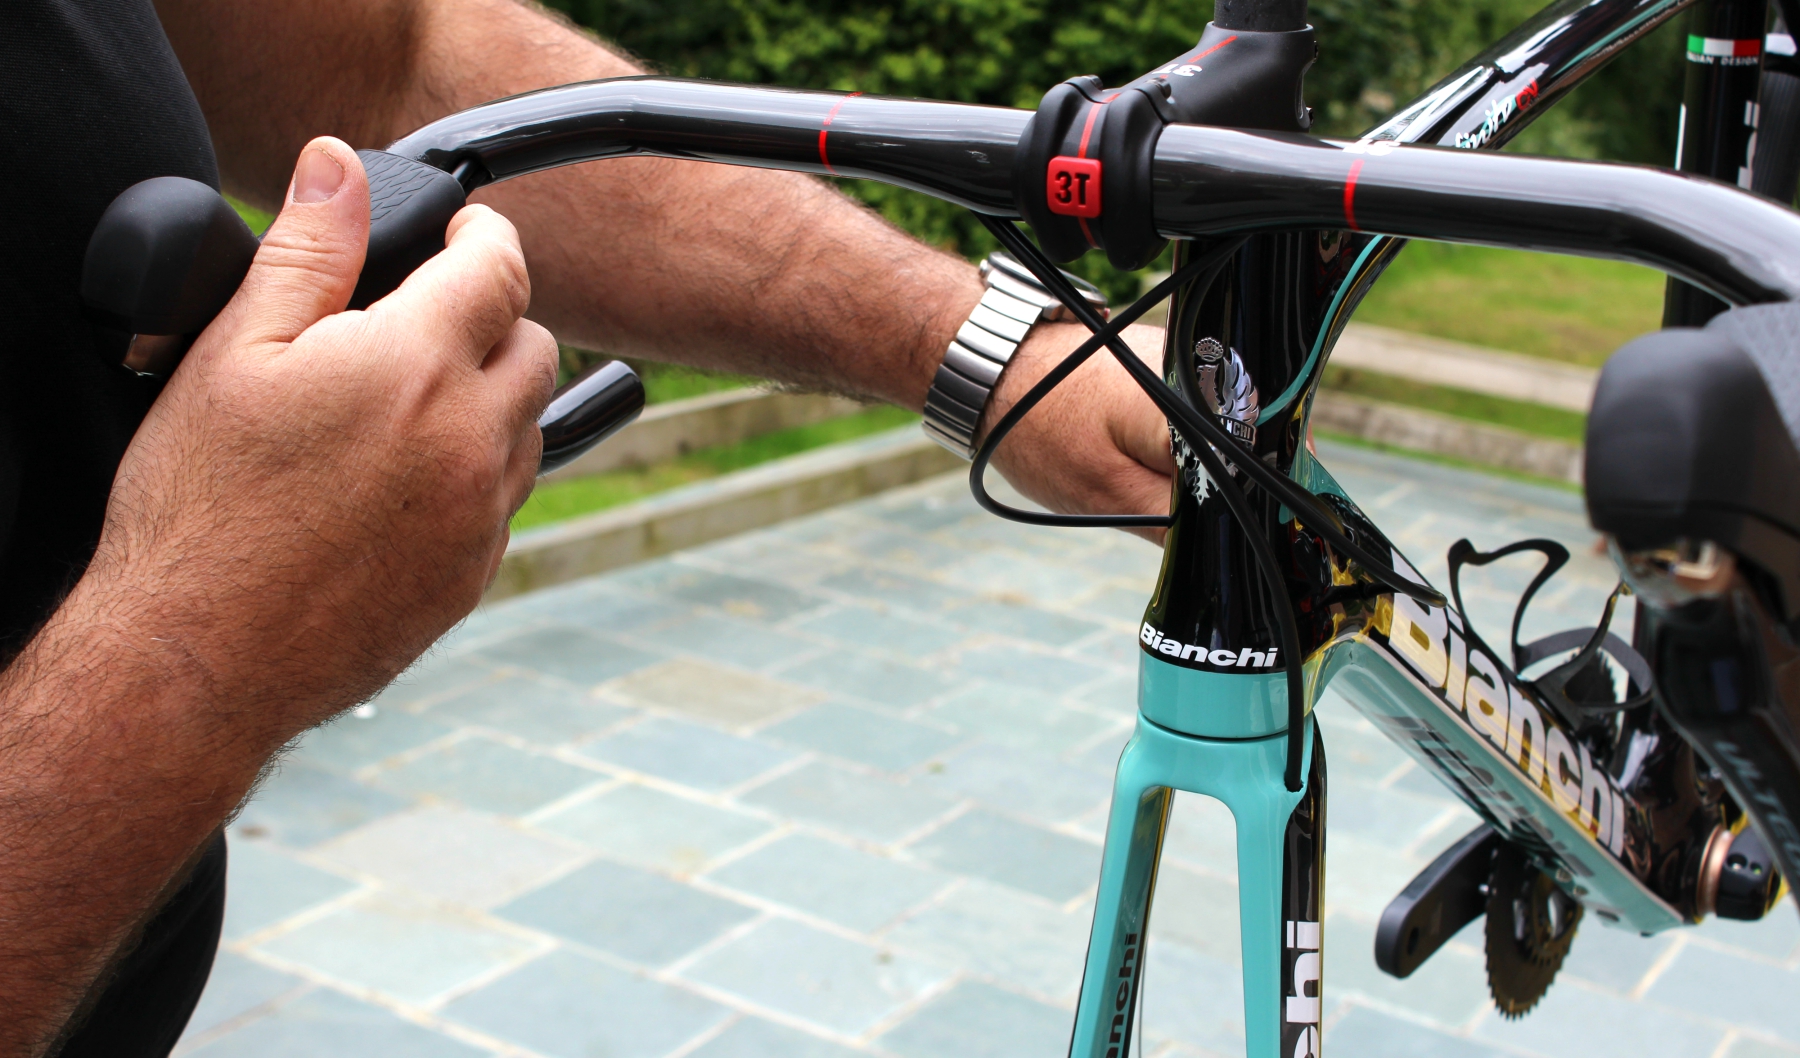
Measure and cut the hydraulic brake cables, ensuring that they’re long enough for the handlebars to move freely once fitted.
Wrap the yellow hose clamp blocks around the cables using grips or by using a vice if you have one. With the blocks fitted, use a sharp knife to cleanly cut the cable level, making sure to cut away from yourself. Use a mallet to gently tap the hose insert until it sits flush in the cable housing and repeat on all 4 ends. Thread the cables through the frame, using cable stops where necessary.
Note: these tasks can be done with the cable during the initial frame building stage.
Where the cable exits the frame and sits near to where the caliper will be sited, use the supplied cable length selector to confirm the length of cable required to fasten to the calliper (rear caliper only).
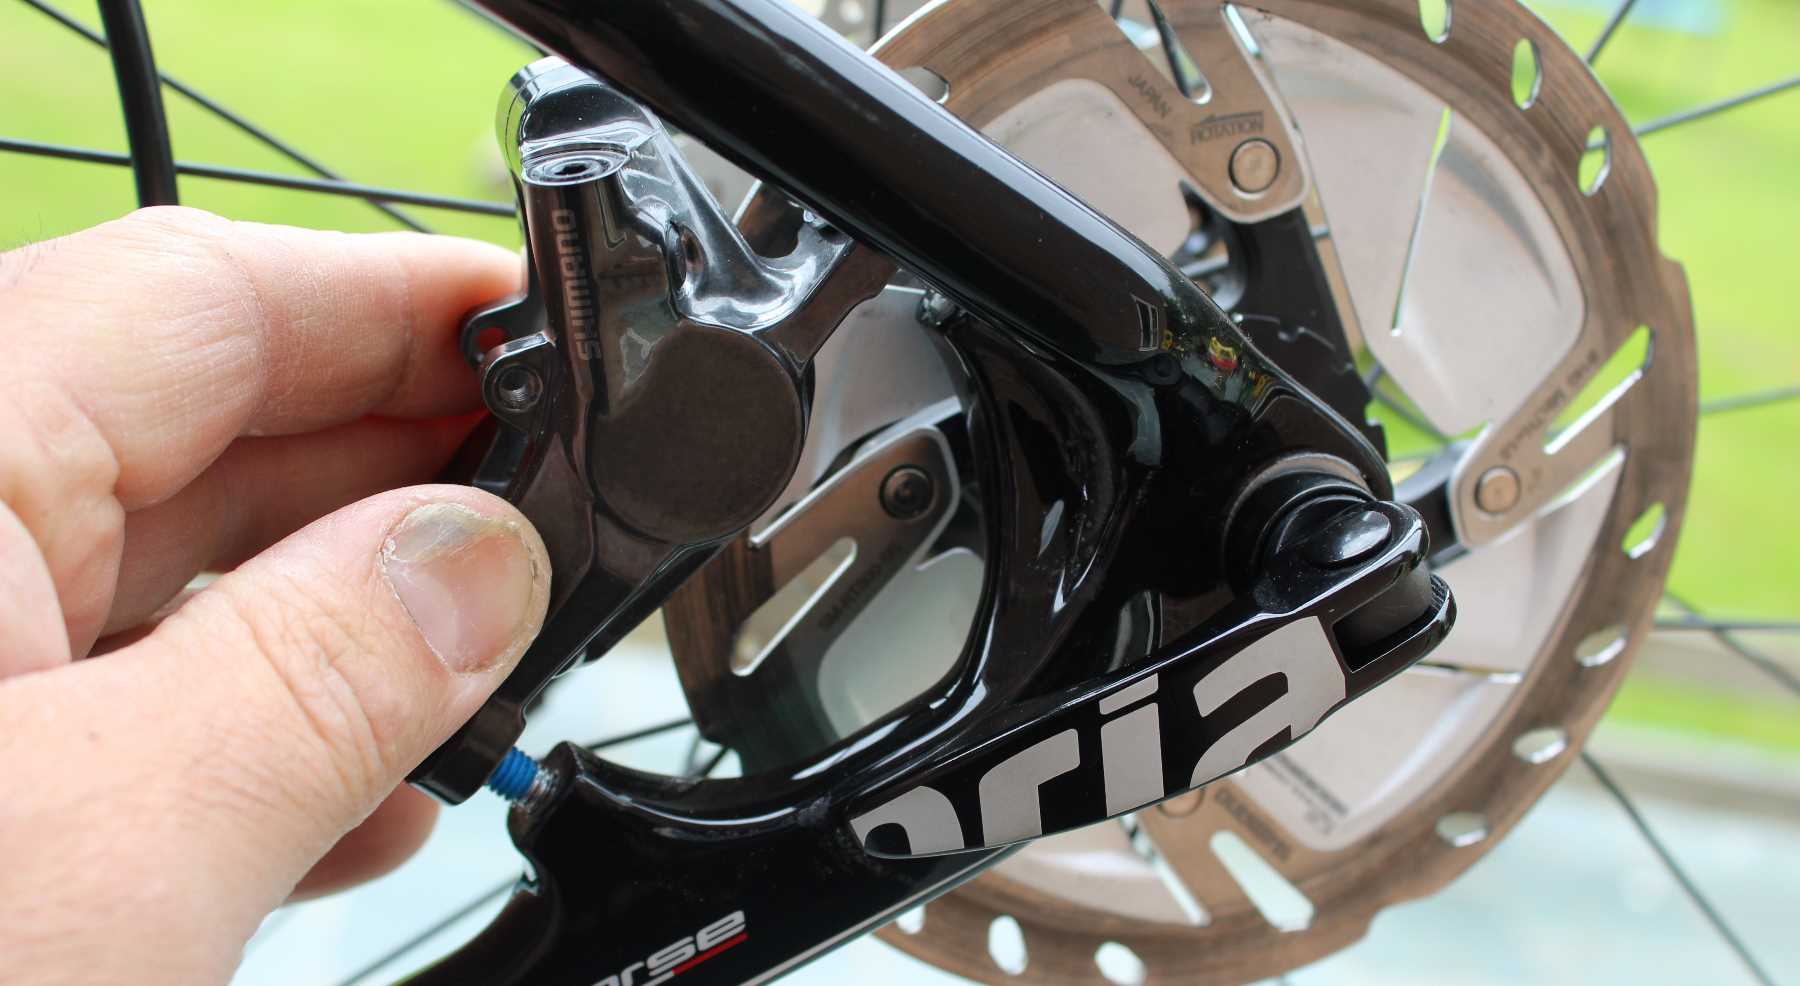
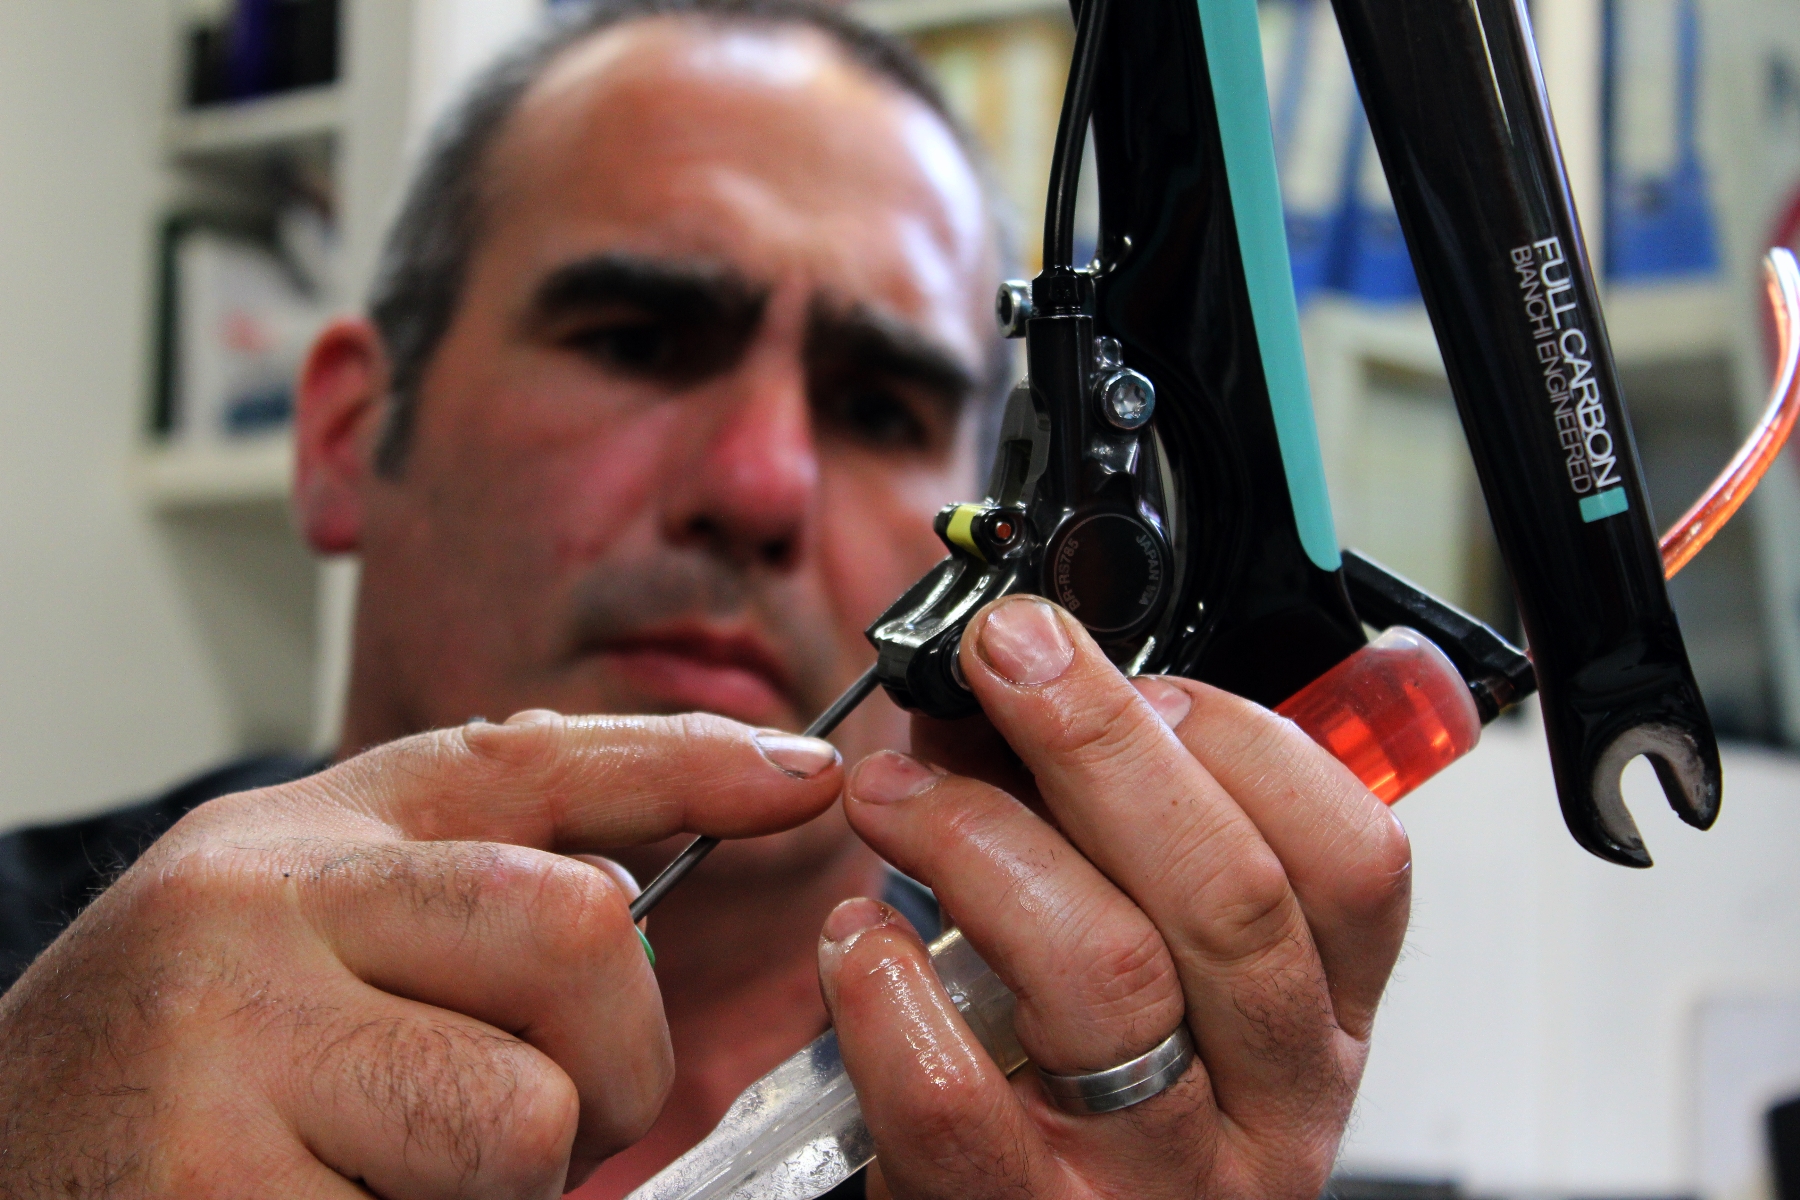
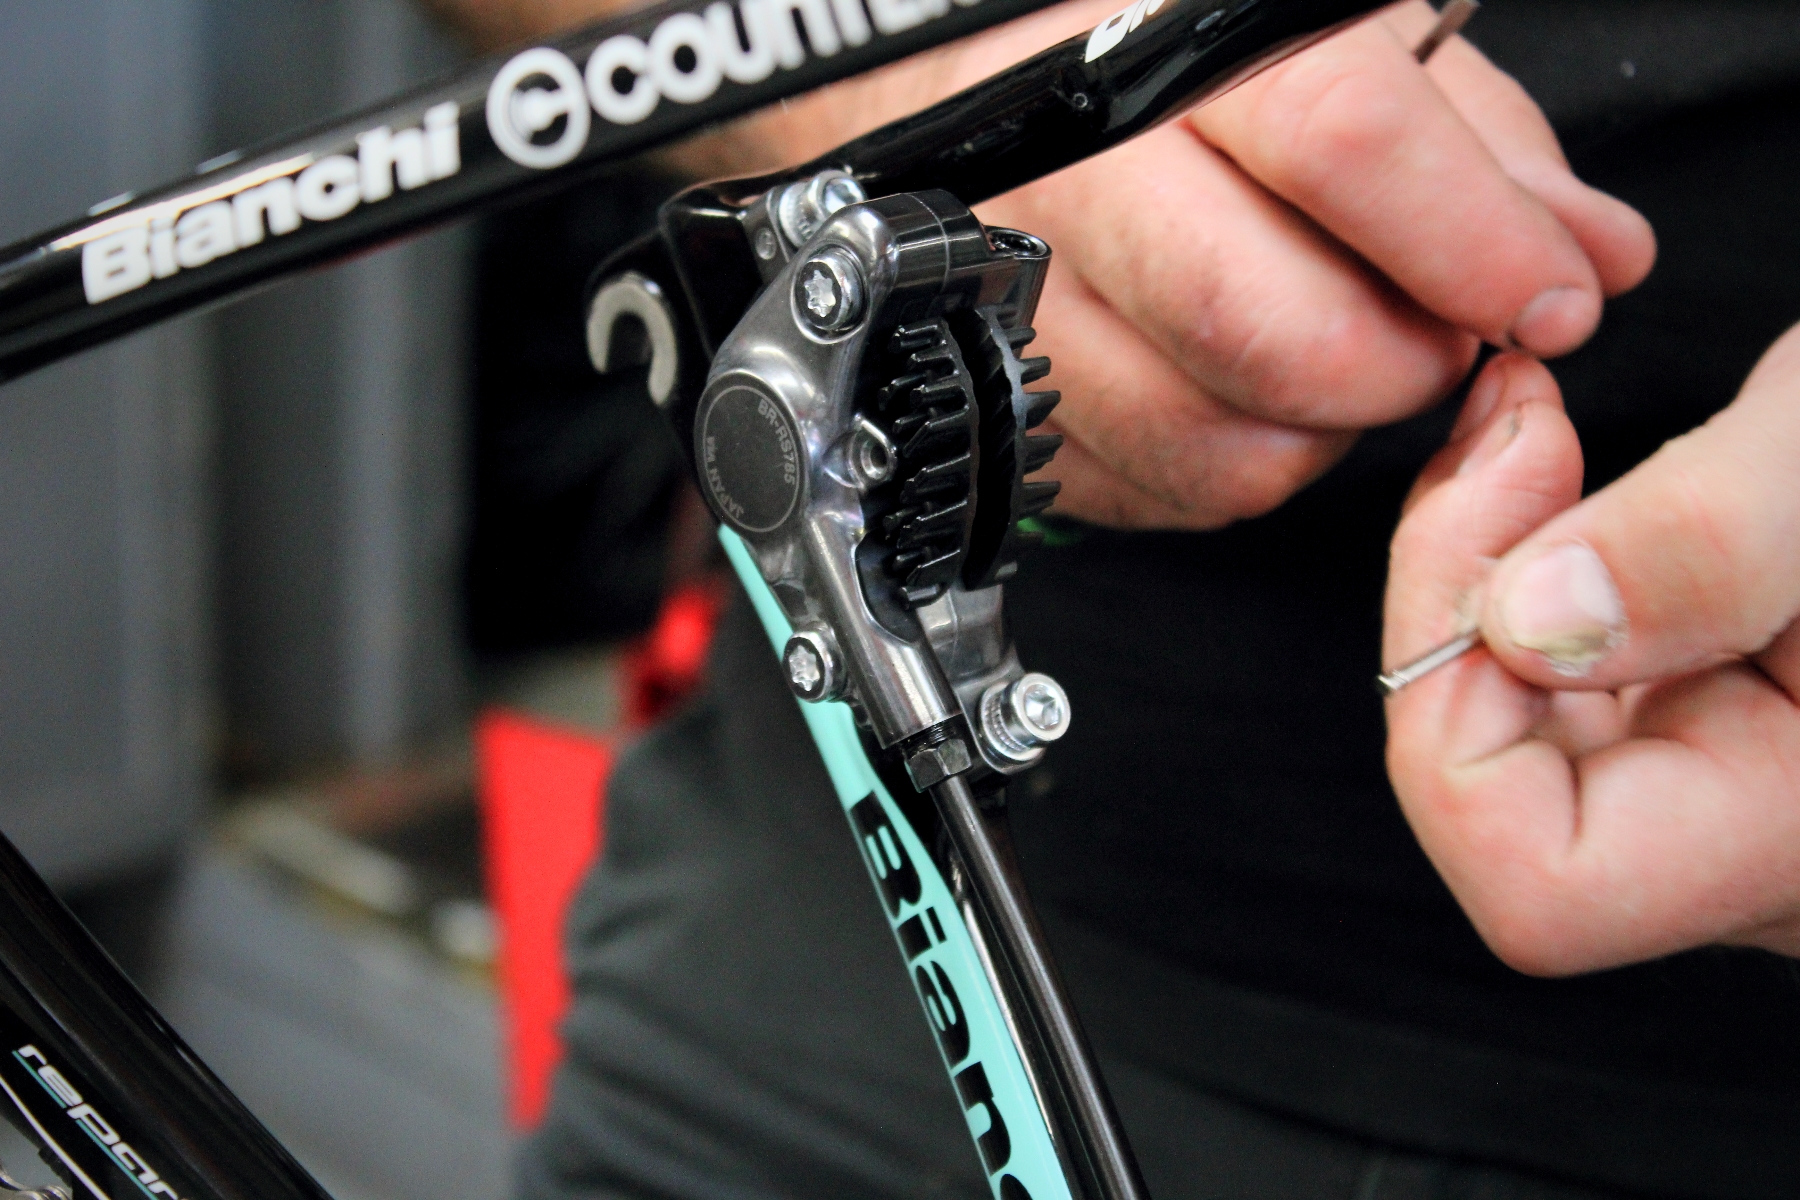
Thread the hose nut onto the hose and then the ‘Olive’. Attach everything using a 8mm wrench. Don’t over-tighten and if necessary use the Feedback Sports Torque kit. At this stage fasten the caliper to the hose while the caliper is not attached to the frame. It sounds obvious, but some people won’t do this. Attach the caliper loosely to the frame or to the mount. Don’t forget the small pin, then repeat the procedure with the front calliper unit and cable. Tighten things up to the required settings, usually around 5-7 N (Newton’s).
As before, attach the small parts to the cable and then attach each cable to the shifters. Youmay want to remove the shifters from the handlebars to do this,as it will be easier. Now it’s time to bleed the brakes, but before you do so, make sure that the bleed blocks (yellow) are fitted to the brake caliper units.
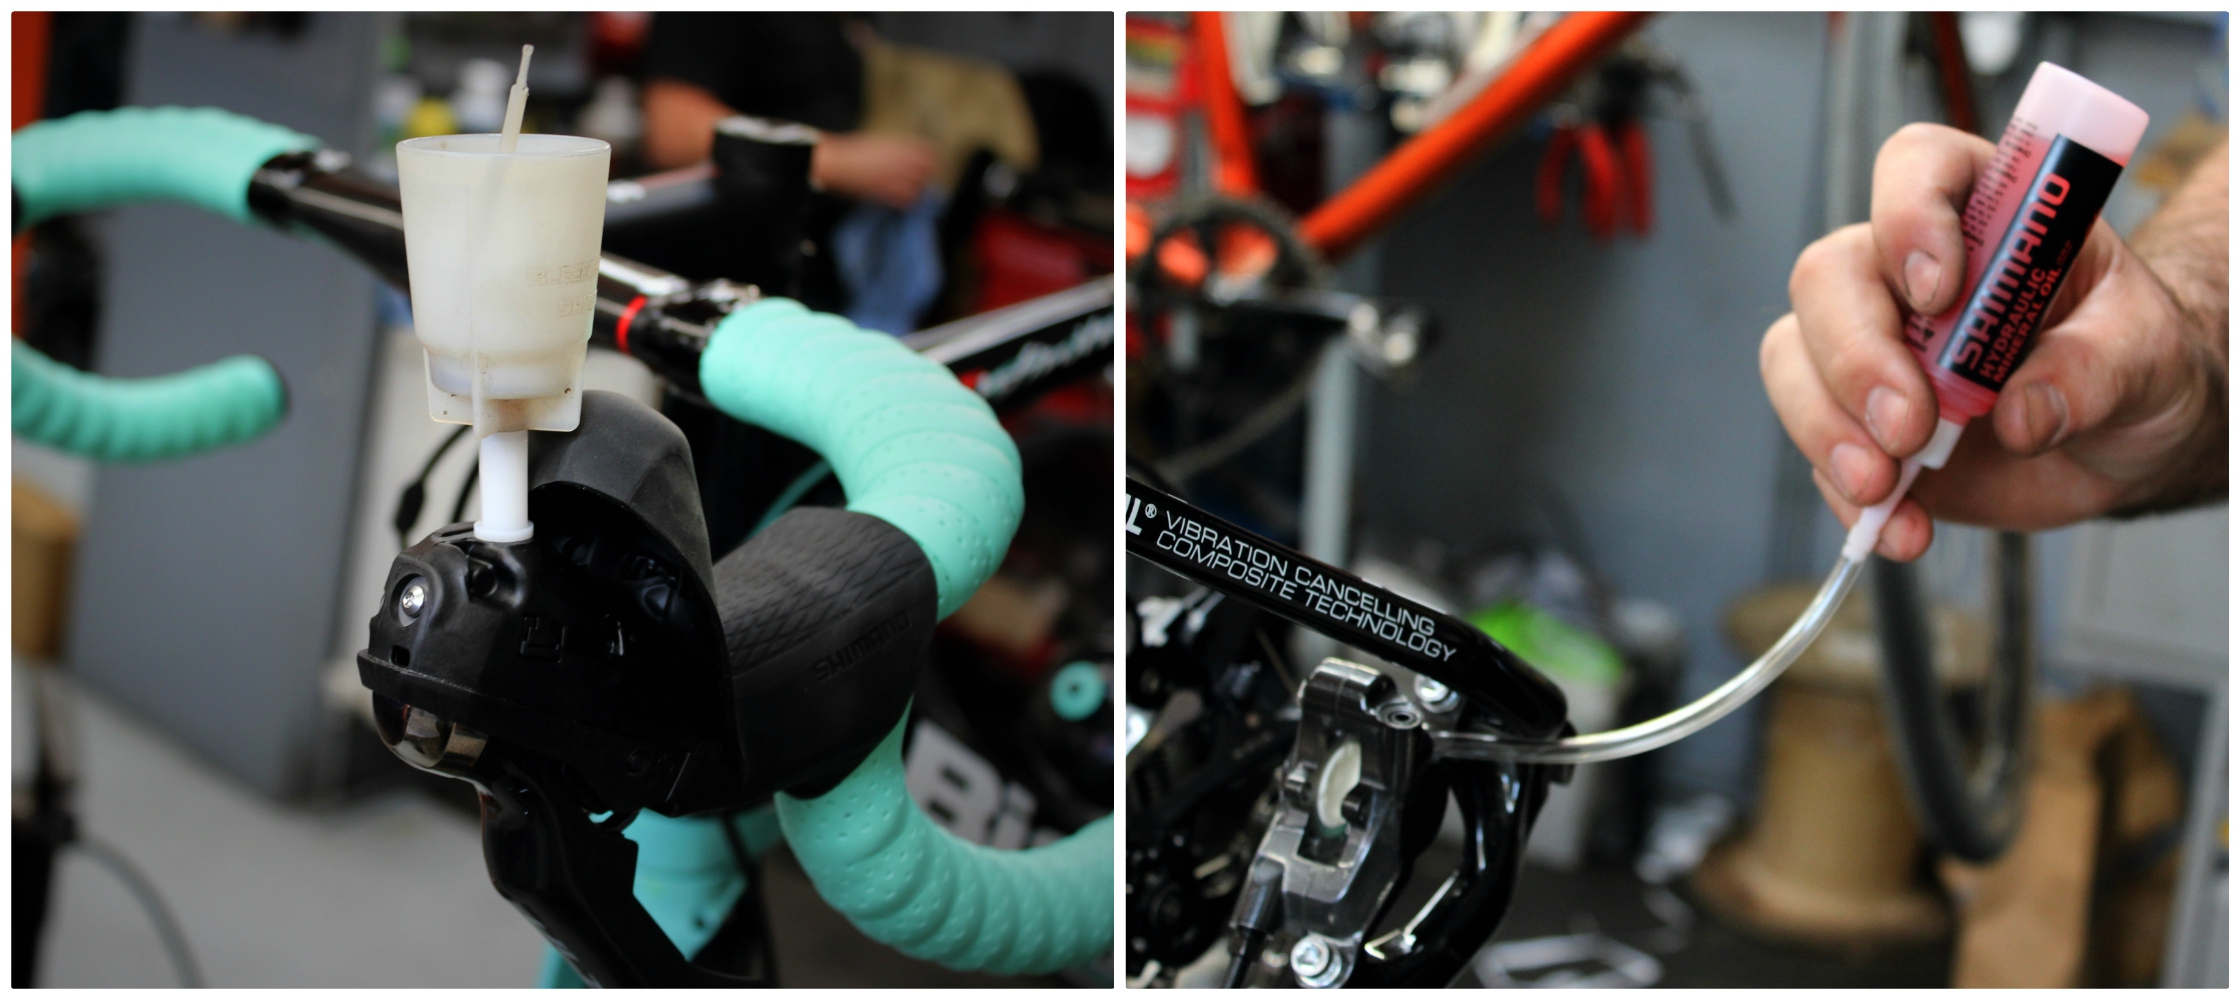
Open the bleed screw on the shifter and and fit the plastic adaptor to fill up the unit through. For a completely dry system, pushing brake fluid from the bottom seems to be the faster way without getting air into the system. Using a syringe that the clear tubing fits snuggly onto, get as much air out before fastening to the bleed nipple. Open the bleed nipple with a 7mm wrench. Slowly push in fluid until you can see it coming out of the adapter funnel by the shifter. Close the bleed nut, remove the syringe and clear tube, attach a plastic bag to the clear tubing and reattach it to the caliper.
Squeeze the brake lever a few times and you should see air bubbles coming out from the funnel. As we are going to let some fluid out, make sure that the funnel has sufficient fluid in so that air won’t enter the system. While squeezing the lever, open the bleed nut on the caliper and quickly close it as soon as the lever reaches the bottom. Keep squeezing the lever until the bleed nut is closed. Once the bleed nut is closed, squeeze the lever a few times and you should see air bubbles coming out of the top. Gently tapping the system may help release more air bubbles. Repeat this procedure until you feel the lever getting firmer and firmer.
Once the lever is firm, put a stopper into the bleed funnel on the lever and carefully unscrew it from the adaptor.Then, unscrew the bleed adaptor. Put the bleed screw back in and then wipe away any excess fluid. Remove the tube and bag from the caliper now and put the pads into their clip and place them into the caliper unit, fastening them in and not forgetting the clip that goes onto the retaining screw.
You will hopefully have already prepared the wheels with the rotors. Fit the wheels and loosen the brake caliper mounts so that the caliper can move. Squeeze and hold the brake lever firmly and at the same time tighten up the caliper mounts. The wheel should then spin without rubbing on the pads.
In our final article we’ll talk about how to wrap handlebar tape, a basic bike setup for you and finishing things off – then you’ll be ready to ride 🙂
